Ring mountings go through a surprisingly involved manufacturing process before they ever reach a jeweler’s showcase. What looks like a simple metal setting is actually the result of several precise, carefully sequenced stages — each one affecting how well the finished piece will hold a stone, wear over time, and photograph on a customer’s hand. Understanding how ring mountings are made helps explain why quality varies so much between manufacturers, even when two designs look nearly identical on paper.
Why the Manufacturing Process Matters So Much
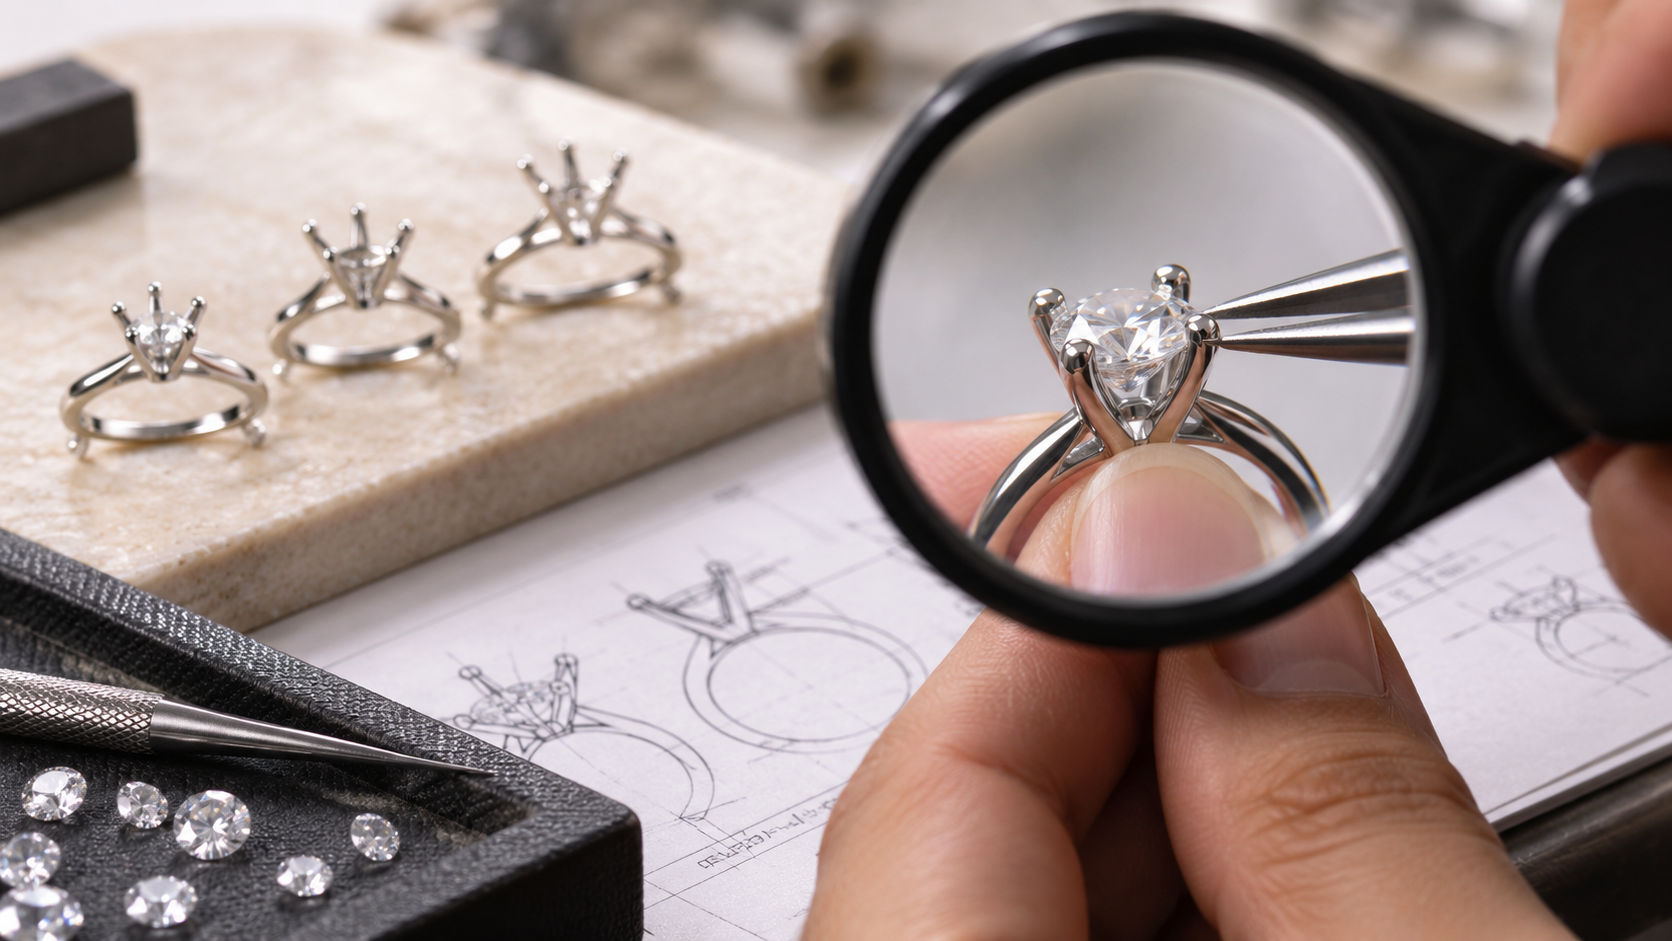
A mounting’s final quality is decided long before it ever meets a diamond. Precision at each stage — from digital design through final polishing — determines whether prongs sit evenly, whether a stone seat fits its intended stone correctly, and whether the piece holds up to years of daily wear. Skipping or rushing any step tends to show up later, either as a loose setting, an uneven finish, or a piece that simply doesn’t match its original design specifications.
Step-by-Step: How Ring Mountings Are Made
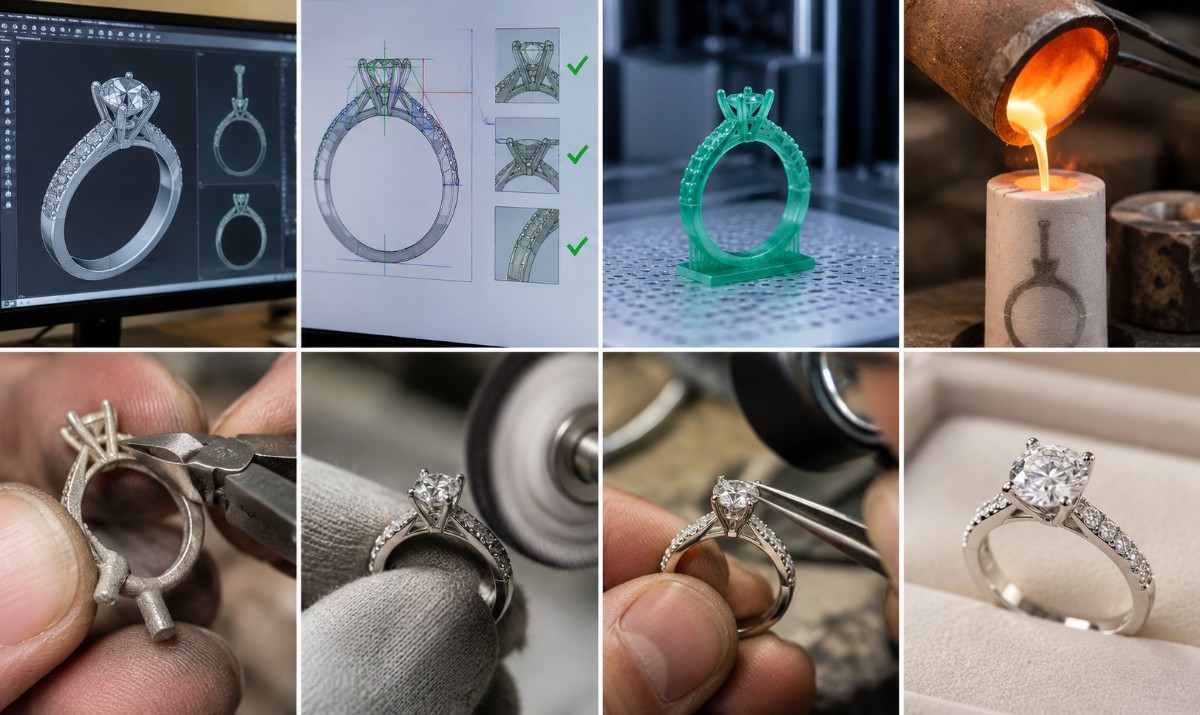
Step 1: Digital Design (CAD Modeling)
The process begins with a 3D digital model built using computer-aided design (CAD) software. At this stage, designers define every measurable detail — band thickness, prong height, gallery structure, and the exact dimensions of the stone seat.
- Adjustments at this stage are fast and cost nothing but time
- Multiple design variations can be tested before committing to production
- Proportions are checked digitally against standard stone sizes to ensure an accurate fit
Step 2: Design Review and Structural Check
Before moving to physical production, the CAD file typically goes through a review process to confirm it will actually work once cast in metal.
- Wall thickness and prong strength are checked to avoid weak points
- Stone seat dimensions are verified against intended carat weights and shapes
- The design is confirmed to be castable, since not every digital shape translates cleanly into metal
Step 3: 3D Printing the Model
Once approved, the CAD file is 3D printed in wax or resin using specialized jewellery-grade printers capable of extremely fine detail. This printed model becomes the physical template used for casting.
- Printers used for this work operate at very high resolution, since jewellery details are often smaller than a millimeter
- The printed model matches the digital file precisely, including fine surface texture
Step 4: Casting in Metal
The wax or resin model is used to create a mold, typically through a lost-wax casting process. Molten metal — gold, platinum, or another alloy — is poured into the mold. Once it cools and solidifies, the wax or resin burns away, leaving behind a raw metal version of the mounting.
- This is the point where a digital design officially becomes a physical object
- The raw cast piece still requires significant additional work before it’s finished
Step 5: Cleaning and Filing
After casting, the raw mounting is cleaned up to remove excess metal, casting marks, and any rough edges left over from the mold.
- Sprues (the small metal channels used during casting) are cut away
- Surfaces are filed smooth in preparation for polishing
- Early structural checks confirm the piece matches its intended design
Step 6: Polishing and Finishing
The mounting is polished to achieve its final surface finish, whether that’s a high shine, a matte texture, or a specific decorative detail. This stage also includes any additional finishing work, such as engraving or texturing, depending on the design.
- Polishing brings out the metal’s final color and shine
- Fine details like milgrain edges or filigree work are refined at this stage
- The piece begins to closely resemble its final appearance
Step 7: Quality Control and Prong Preparation
Before a mounting is ready to receive a stone, it goes through a final quality check to confirm accuracy against the original CAD specifications.
- Prong height and spacing are checked against the intended stone size
- Stone seats are verified for precise fit
- Any inconsistencies are corrected before the mounting moves forward
This step is critical, since a mounting that looks correct visually can still have subtle inaccuracies that would cause problems once a stone is set.
Step 8: Stone Setting (When Applicable)
For mountings sold ready-to-set, this final stage involves securing the stone into the prepared setting, checking security, and confirming the finished piece matches its intended design in both appearance and structural integrity.
What Separates High-Quality Ring Mountings from the Rest
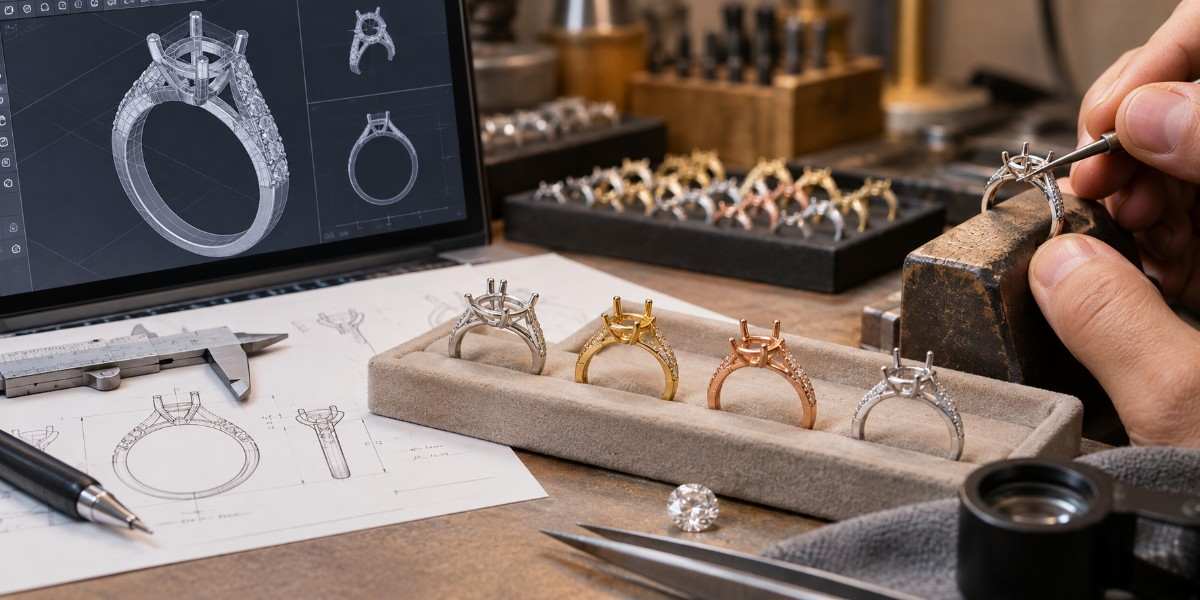
Not every manufacturer follows this process with the same level of care. A few factors consistently separate reliable ring mountings from inconsistent ones:
- Tight tolerances maintained at every stage, not just during final quality control
- Consistent finishing quality across repeat production runs
- Careful structural review during the CAD stage, catching weak points before they become physical defects
- Precise stone-seat accuracy, ensuring a proper fit rather than a rough approximation
Retailers sourcing from a dependable Mounting Seller tend to see far fewer issues with fit, finish, and consistency across orders, since a manufacturer that treats each of these steps seriously produces noticeably more reliable results batch after batch.
FAQs: How Ring Mountings Are Made
1. What material is used to print a ring mounting design before casting?
Ans. Most ring mountings are 3D printed in wax or resin, which is then used to create a mold for the metal casting process.
2. Why does CAD design matter so much in making ring mountings?
Ans. CAD design allows manufacturers to define exact measurements and catch structural issues before physical production, resulting in far tighter tolerances than hand-building methods alone could achieve.
3. How many steps are involved in making a finished ring mounting?
Ans. Ring mountings typically go through around seven to eight major stages, from digital design and casting through cleaning, polishing, quality control, and final stone setting.
The Bottom Line
Ring mountings go through a far more involved process than most people realize, moving from a digital file through printing, casting, finishing, and rigorous quality checks before they’re ready for a stone. Understanding how ring mountings are made makes it easier to appreciate why manufacturing consistency matters just as much as design when it comes to choosing a reliable source.