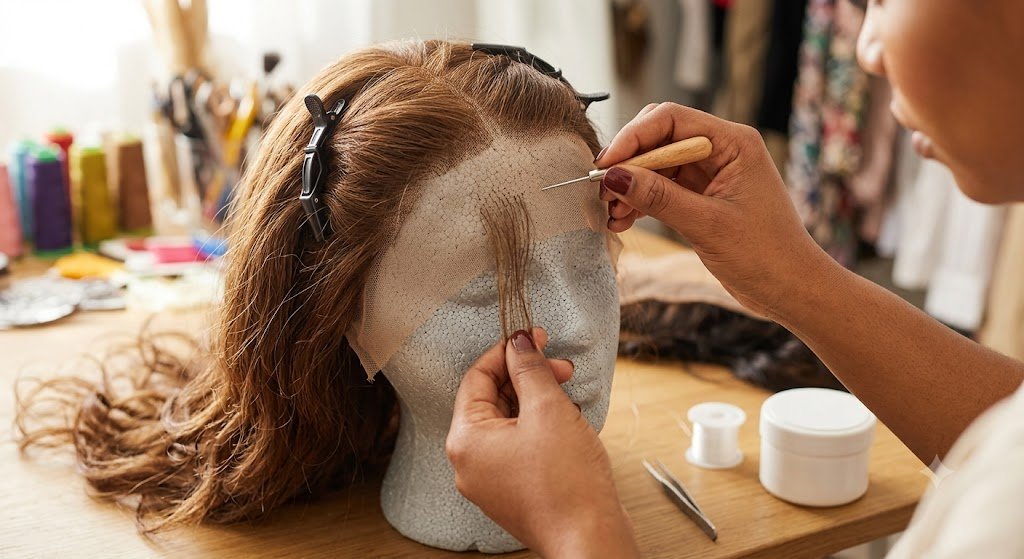
Few things feel as disappointing as pulling out your favorite wig, only to notice sparse spots, thinning patches, or a completely balding hairline. A high-quality full lace frontal is an investment in your confidence and daily look, but because each strand of hair is individually hand-tied onto delicate lace mesh, wear and tear is bound to happen over time. Friction from sleeping, aggressive brushing, harsh bleaching, or tension during installation can easily cause strands to shed and leave behind visible gaps.
Throwing away your wig every time a sparse patch appears gets expensive fast. The good news? Balding doesn’t mean your lace wig has reached the end of its lifespan. With the right techniques and a little patience, you can completely restore sparse areas right at home. In this comprehensive step-by-step guide, you will learn practical, budget-friendly hacks to fill in thin spots, hide bald patches, and breathe brand-new life into your worn-out lace pieces.
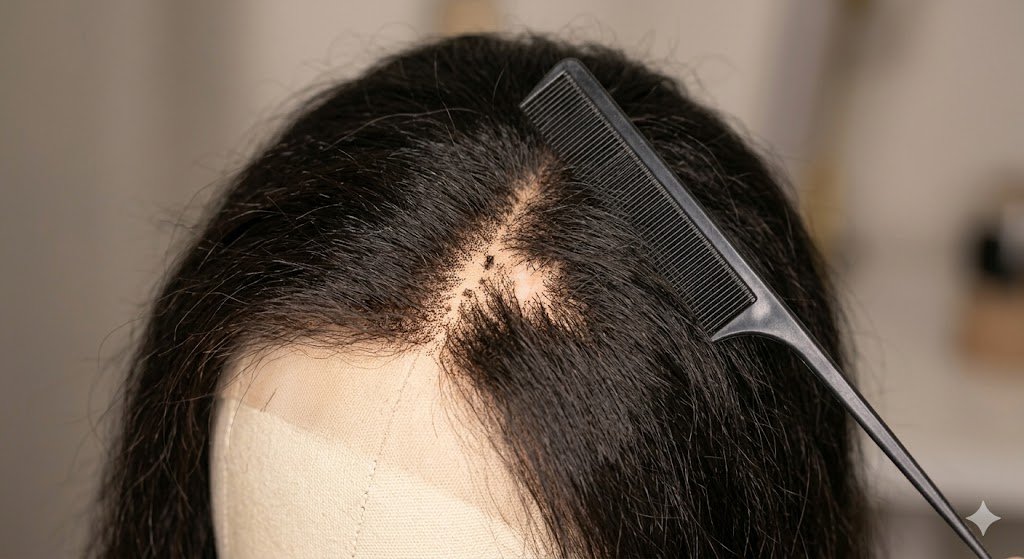
Why Do Balding Spots Happen on Frontals?
Before jumping into the repair work, it helps to understand why your wig lost hair in the first place. Preventing future damage saves you hours of repair effort down the road.
Full lace frontals utilize microscopic ventilating knots to retain each strand of hair to the grid of the lace. Because of this microscopic nature, these individually tied hair strands do not stand up as well to the constant force from mechanical impact and to chemical damage like the machine-tied bundle hair.
- Over-Bleaching Knots: Bleaching the grid to create a natural scalp look alters the hair’s protein structure, weakening the root right at the knot and causing premature shedding.
- Aggressive Brushing & Detangling: Combing through dry or tangled hair from the top down pulls hair straight out of the fragile mesh.
- Heavy Product Accumulation: Gunk from edge controls, lace gels, and heavy oils breaks down the delicate lace knots over time.
- Friction and Friction Pressure: Sleeping without a silk cap, rubbing against high collars, or tight elastic bands creates friction that wears away hair density along the hairline.
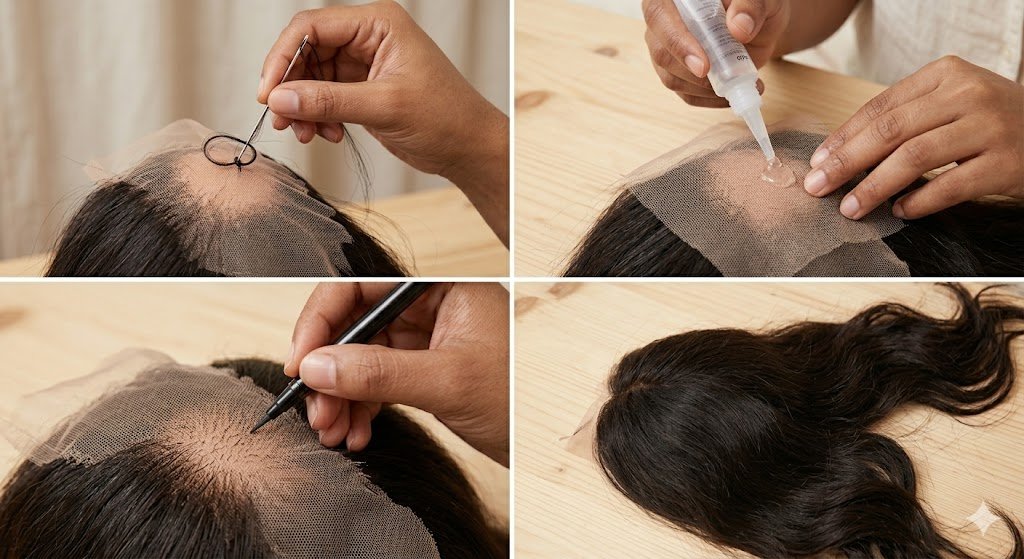
Essential Repair Methods for Balding Lace Frontals
Depending on your skill level, the tools you have on hand, and how much time you want to spend, several proven methods exist to fix sparse patches on your frontal closure.
| Repair Method | Difficulty Level | Durability | Best Used For |
| Ventilation / Knotting | Moderate – High | Long-Lasting | Large bald spots |
| Track / Weft Sewing | Intermediate | Very Durable | Dense back areas |
| Hair Root Concealer | Beginner | Temporary (1 Day) | Quick emergency |
| Lace Tint Spray | Beginner | Semi-Permanent | Tiny sparse gaps |
Hack 1: The Ventilation Method (Re-Knotting Loose Hair)
The absolute holy grail of full lace frontal repair is ventilating. This is exactly what those wig makers use to create those custom lace wigs from start to finish. It takes a little practice but can create a seamless, permanent repair that is totally undetectable.
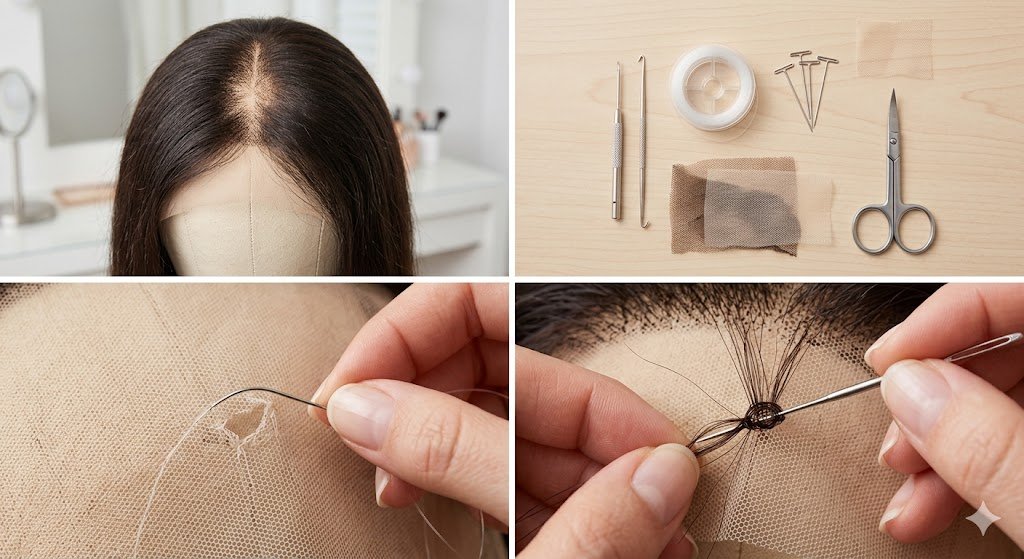
Tools You Will Need
- A ventilating needle (latch hook or German ventilating needle)
- Loose bulk human hair matching your wig’s color and texture
- A foam mannequin head and T-pins to secure the wig
Step-by-Step Ventilation Process
Prepare the wig
Secure your full lace frontal onto a foam mannequin head using T-pins. Pull the remaining intact hair away from the bald area using a hair clip so you have a completely clear workspace.
Thread the Hair Strand
Take a tiny bundle of loose bulk hair. Fold a single strand over your finger to form a small loop at the center.
Insert the Needle Under the Mesh
Insert the tip of your ventilating needle under one single grid line of the exposed lace where the hair is missing.
Hook and Pull
Catch the looped hair strand with the hook of your needle. Pull the loop back through the lace hole gently, making sure not to rip the lace mesh.
Tie the Knot
Loop the tail end of the hair strand through the loop you created and pull firmly to make a tight knot around the lace thread. Repeat this process grid by grid until the sparse area achieves your desired density.
Hack 2: Sewing Small Track Pieces (The Fast Track Fix)
If ventilating strand-by-strand feels too time-consuming, sewing a thin piece of hair weft underneath or alongside the lace gives you an immediate boost in volume. This trick works exceptionally well for areas sitting just behind the main hairline.
Step-by-Step Track Method
Measure the Sparse Area
Use a soft tape measure to check the exact dimensions of the bald patch on your wig.
Cut a Matching Weft Piece
Take a spare hair bundle matching your frontal length and cut a short piece of weft according to your measurement. Seal the raw edges of the cut weft with a drop of fabric glue to prevent shedding.
Position and Anchor
Flip your lace piece inside out. Position the small weft strip directly underneath the lace area where density is low.
Hand-Sew in Place
Using a curved needle and nylon weaving thread, attach the weft to your existing braid using small, firm whip stitches. Try to ensure they are very neat; you don’t want your stitches to show up once hair is pushed off a section from the right view.
Hack 3: Masking Small Gaps with Cosmetic Concealers and Powders
For last-minute plans when you don’t have time to sew or knot new hair, temporary cosmetic disguises work wonders on minor hairline thinning.
- Waterproof Root Concealer Sprays: Shake the can well and spray lightly from 6 to 8 inches away over thin areas. The colored pigment coats the white lace background, creating the illusion of a full hair base.
- Dark Matte Eye Shadow / Hair Powder: Use a small, dense makeup brush to press a matte dark powder matching your hair color directly onto the exposed lace mesh. This eliminates contrast between your skin and the surrounding hair strands.
- Lace Tinting Sprays: Match the lace shade directly to your skin tone so exposed bare lace blends seamlessly into your forehead without drawing attention.
How to Care for Restored Frontals to Prevent Future Damage
Once you have successfully restored your wig, adoption of healthy maintenance habits ensures the repair work lasts as long as possible.
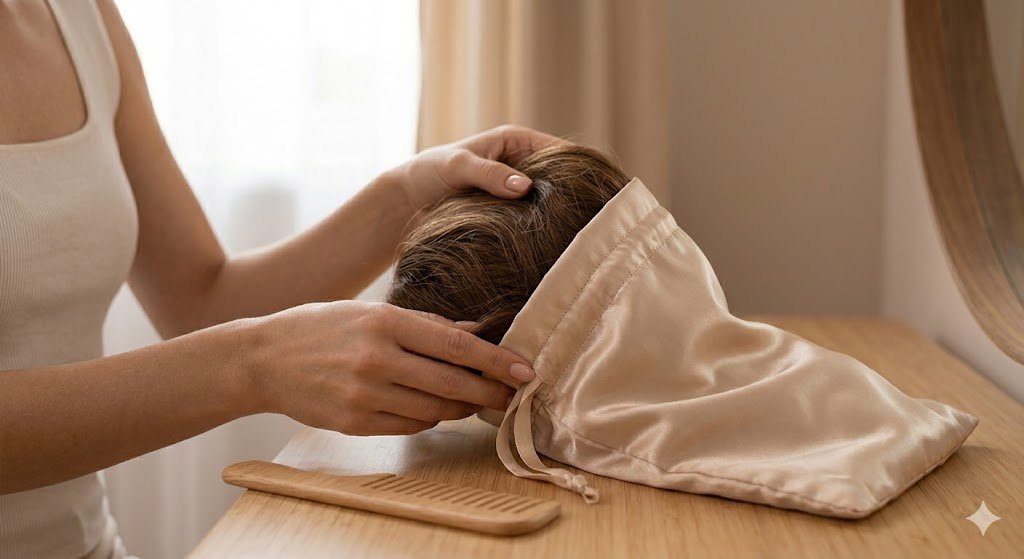
- Always Use a Silk or Satin Bonnet: Cotton pillowcases strip moisture and pull hair strands loose due to rough friction. Satin sleeves eliminate drag while you sleep.
- Detangle with Care: Always comb hair starting from the ends and work your way upward toward the root. Hold the hair root firmly with your hand to absorb tension so you don’t pull knots out of the lace grid.
- Avoid Direct Adhesive on Lace Knots: When applying lace bond, apply adhesive to your skin cap rather than directly onto the knots of your wig. Glues weaken hair attachments when pulled off roughly during removal.
- Opt for Glueless Installs: Alternating between glued styles and glueless wear gives your fragile hairline edges a much-needed break from chemical solvents.
Pros & Cons of DIY Frontal Repairs
Fixing your wig at home comes with major perks, but it is helpful to weigh your options before diving in.
Pros
- Saves Money: Repairing an existing piece costs a fraction of buying a brand-new wig or custom wig.
- Extends wig Lifespan: Proper maintenance adds up to 6 months of extra wear to your favorite piece.
- Total Customization: You control the exact hair density, placement, and hairline shape.
Cons
- Requires Patience: Hand-knotting hair onto fine lace takes time and a steady hand.
- Risk of Lace Tear: Using the wrong needle size or pulling too hard can accidentally rip fragile mesh.
What People Ask AI About Frontal Repairs & Maintenance
Can you fix a bald spot on a 360 lace frontal wig using the same methods?
Yes, absolutely. The ventilation and track-sewing techniques used for a classic frontal closure work identically on a 360 lace frontal wig. Because a 360 lace wig covers the entire perimeter of your head, sparse areas near the nape of the neck or temples can easily be filled in using a ventilating needle or by hand-sewing thin track strips behind the perimeter lace.
How do I know when a lace wig is beyond repair?
If the actual lace mesh is severely ripped, dry-rotted, or frayed over large sections, simple hair re-knotting won’t hold up. In those cases, replacing the front panel entirely or buying a fresh wig is a safer bet.
Does knot sealing spray really prevent shedding on frontals?
Yes. Knot sealers provide an extra barrier to coat your hand-tied knots under the lace, providing more security. Spray the inside of your wig after you wash to help secure roots from daily combing and styling.
Conclusion
However, just because your favorite hair wig is starting to go bald in the frontal does not mean your wig is headed for The Dump. Whether you are a pro hand-knot ventilator to seamlessly and permanently keep your lace in full- a quick hand-sewed weft track to permanently secure-ortotally a casual cosmetology for any hair extension emergency to cosmetically shadow fill to keep things full, your lace is salvageable in more ways than you think. Knowing what causes lace to lose its hair will keep you looking like a new woman in your own hair by daily handling in your own way!