
Installing a full lace frontal is the most effective way to get a natural-looking hair transformation. These are designed to stretch from ear to ear and offer a variety of styles, such as parting your hair in different places, putting your hair up and even creating undetectable hairlines.
However, because frontals are crafted with ultra-delicate lace materials to mimic the human scalp, the installation process requires precision, patience, and correct techniques. A single wrong step—such as using the wrong adhesive, over-bleaching the knots, or aggressive plucking—can quickly ruin your wig, cause premature shedding, or damage your natural edges.
With the holiday shopping season approaching and Black Friday deals on wigs right around the corner, many hair enthusiasts are getting ready to purchase new frontal hair pieces. Before you make your next investment, here is a comprehensive guide on the 5 biggest mistakes to avoid during installation, along with expert tips to ensure a seamless, melted melt every time.
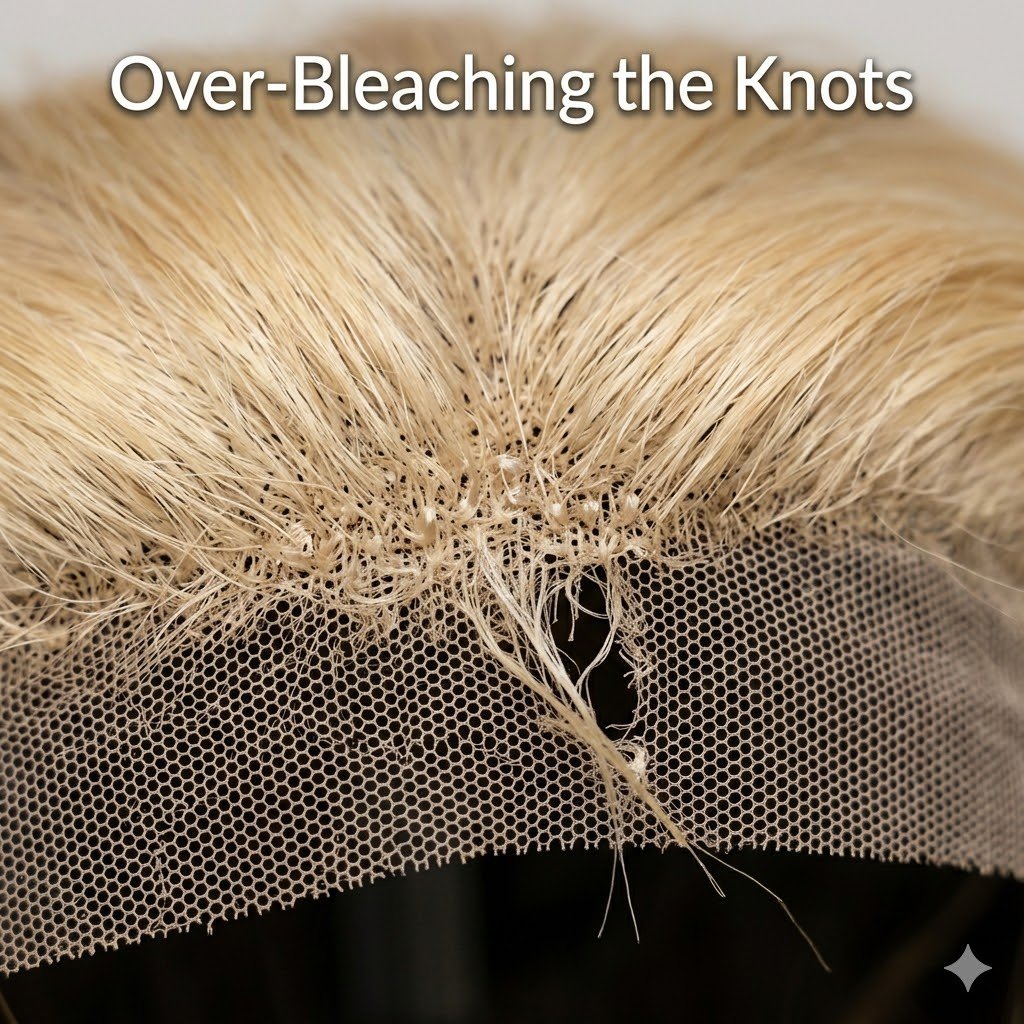
1. Bleaching Knots Incorrectly or Over-Processing the Lace
One of the first steps in customizing a full lace frontal is bleaching the tiny knots where the individual hair strands are hand-tied into the mesh. While bleaching creates the illusion that hair is growing directly out of your scalp, over-processing is a major mistake.
The Risks of Over-Bleaching
- Hair Shedding: Leaving developer on the knots for too long weakens the structural integrity of the hair shaft, causing massive shedding across the entire hairline.
- Brassy Bleed-Through: Mixing your bleach lightener too thin allows it to seep through the lace matrix onto the hair roots, leaving unsightly blonde or orange spots right at the front of your wig.
How to Do It Right
Use a thick consistency when mixing developer (preferably 20-volume) with your lightener—it should resemble thick cake batter. Gently spread the mixture over the underside of the lace without pressing down hard into the grid. Keep a close eye on the lifting process, checking every 10 minutes, and rinse thoroughly with a neutralizing or purple shampoo to stop chemical processing instantly.
2. Over-Plucking the Hairline and Creating Bald Spots
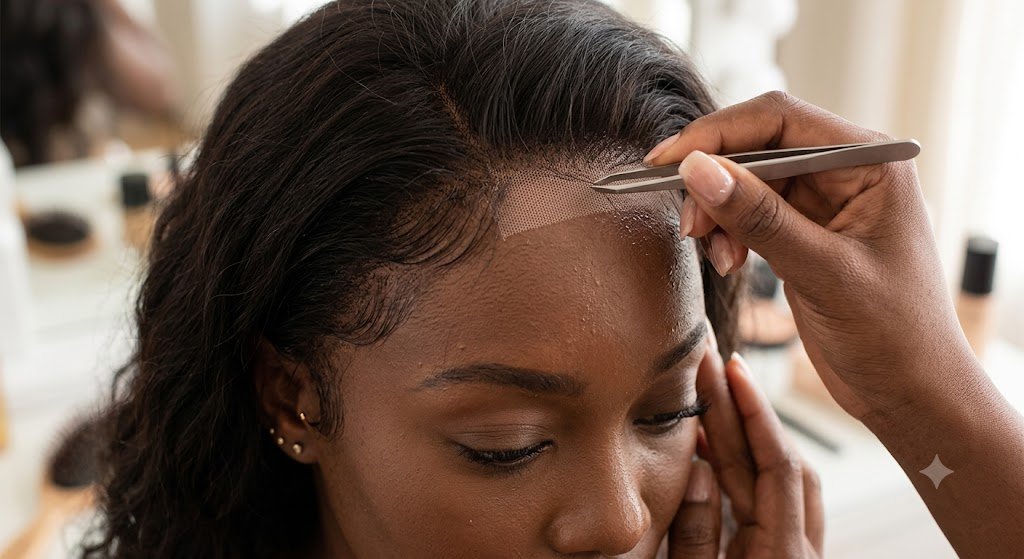
Natural ones are rarely straight and overly thick. Plucking a full lace frontal too much thins out the edge so that it doesn’t look bulky or artificial. But many tweezers use too much and get patchy, uneven lines or rip the lace.
Plucking Guidelines for a Natural Look
- Pluck in Rows: Never pluck repeatedly in one single spot. Instead, part tiny sections, hold the hair taut, and pluck every third or fourth strand moving backward from the hairline.
- Work on Wet Hair with Conditioner: Plucking damp hair coated with a lightweight leave-in conditioner makes pulling strands smooth and prevents snapped hairs.
- Stop Early: Remember that you can always go back and pluck more hair after trying on the wig, but you cannot put hair back once it has been pulled out.
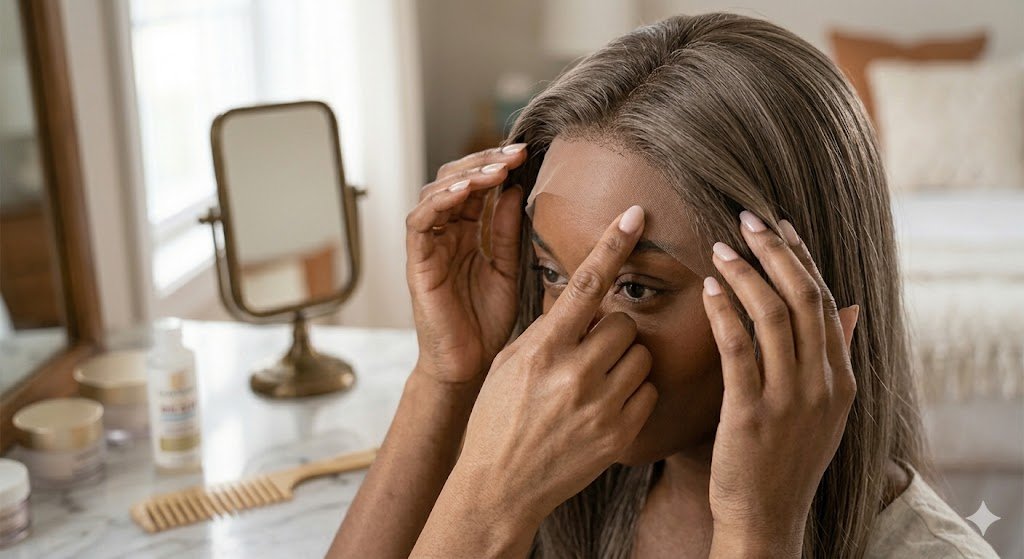
3. Cutting the Lace in a Straight Line Across Your Forehead
A common mistake made by beginners is taking a pair of shears and cutting the frontal’s excess lace in a straight, flat line from temple to temple. Human foreheads naturally feature micro-curves, peaks, and subtle irregularities.
Why Straight Lines Look Unnatural
A harsh, flat edge creates a noticeable line of demarcation, making it almost impossible to blend the lace seamlessly into your skin—even with high-performance glues or tint sprays.
The Jagged Edge Technique
Always cut your lace using small, short, zigzag snips. Use pinking shears or small cosmetic scissors, trimming around the natural contours of your hairline and leaving a tiny fraction of an inch (about 1-2 millimeters) of lace in front of the hair roots for a clean melt.
4. Applying Adhesive directly to Unprepared Skin or Natural Hair
Adhesives and lace glues provide the ultimate hold for long-term wear, but improper scalp preparation ruins the bond and puts your natural hairline at severe risk.
Scalp Prep and Protection Steps
- Cleanse Away Oils: Sweat, natural oils, and leftover makeup break down lace adhesives instantly. Clean your forehead and perimeter thoroughly with 70% or 99% isopropyl alcohol before applying any product.
- Apply a Skin Guard: Never apply liquid adhesives directly to raw skin without a protective barrier. Skin protectors prevent irritation, block sweat from weakening the bond, and create a smooth surface for glue application.
- Protect Your Edges: Always position your lace frontal slightly in front of your natural hairline—never directly over your baby hairs or edges. Secure your natural hair underneath using a flat braid pattern and a skin-toned wig cap using the bald cap method.
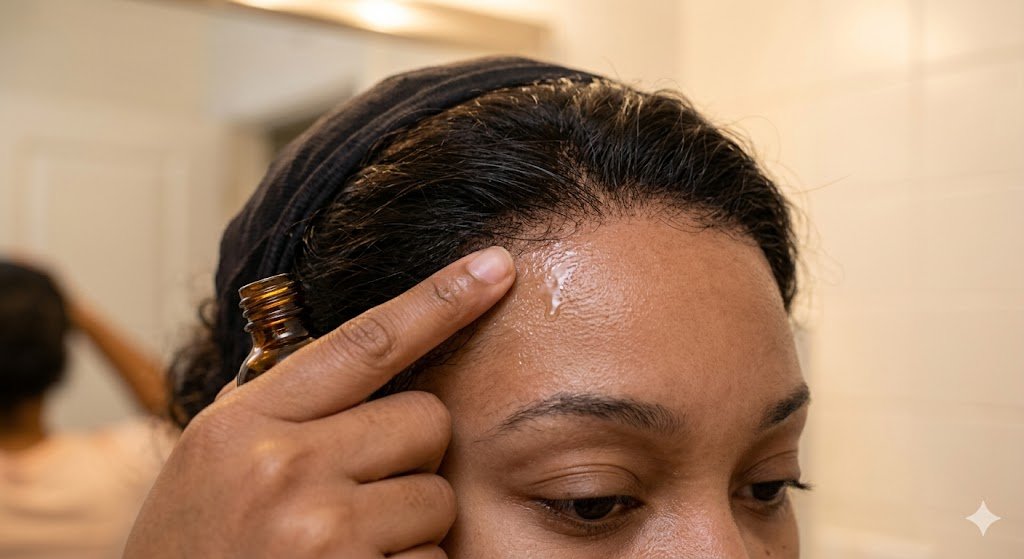
5. Laying the Lace Down While Glue is Still White and Wet
Patience is the single most critical factor when bonding a full lace frontal. A frequent installation error is pressing the lace into the adhesive while it is still wet, liquid, or milky white.
Why Timing Matters
Pressing lace into wet glue causes the liquid product to seep up through the mesh holes onto the top of the hair strands. This leaves a white, crusty buildup that turns hard, shines under bright light, and ruins the entire look.
Achieving the Perfect Melt
Apply glue in extremely thin, even layers. Do not apply another thin layer until the previous one is clear and tacky to the touch. Once the final coat becomes 100% clear, press the lace down using the wooden end of a rat-tail comb or a tight elastic melt band tied around the perimeter for 10 to 15 minutes.
Pros & Cons of Full Lace Frontals
Understanding both the benefits and limitations helps you set realistic expectations for wear, maintenance, and longevity:
| Advantages (Pros) | Considerations (Cons) |
| Maximum Versatility: Allows ear-to-ear parting, high ponytails, side sweeps, and braided styles. | Higher Maintenance: Requires regular touch-ups, proper cleaning, and gentle handling. |
| Flawless Realism: Mimics natural scalp growth along the entire forehead line. | Delicate Mesh: Lace can rip or stretch if pulled forcefully during styling or removal. |
| Protective Style: Completely covers natural hair, shielding it from daily heat and styling damage. | Shorter Lifespan than Closures: Frontals generally require replacement sooner due to lace wear. |
What People Ask AI & Frequently Asked Questions (FAQs)
How long can I safely leave a full lace frontal installed?
A professional installation using high-grade waterproof lace adhesive typically lasts between 2 to 3 weeks. Leaving a wig glued down for longer can cause bacteria buildup, clogged pores, and potential traction damage to your natural edges.
Can I wear a full lace frontal glueless?
Yes! You can install frontals glueless by utilizing adjustable elastic bands, wig grips, or specialized strong-hold styling mousses and gels. Glueless installs are ideal for everyday removal, daily scalp ventilation, and protecting sensitive skin.
What is the difference between a lace frontal and a 360 lace frontal wig?
A standard lace frontal covers only the front perimeter from ear to ear (typically measuring 13×4 or 13×6 inches). In contrast, a 360 lace frontal wig goes entirely around the full perimeter of your head—front, sides, and nape—allowing you to pull your hair into high, seamless updos while featuring a pre-constructed machine-made cap center.
Early Holiday Prep: Get Ready for Black Friday
As we approach the end-of-year holiday rush, it’s never too early to start preparing your hairstyle routine. Black Friday is approaching, and major hair retailers are ready to slash the prices of virgin frontals, raw bundles, and complete wig collections.
If you plan to refresh your hair inventory or try a 360 lace frontal wig for the festive season, start building your wish list now. Stocking up during upcoming holiday sales ensures you score premium frontal hair at a fraction of the regular price while giving you ample time to customize your lace before holiday events and gatherings begin.
Summary
Achieving a flawless, melted look with a full lace frontal requires careful technique at every step:
- Bleach with care: mix thick lightener and keep an eye on the knots to avoid shedding or bleeding.
- Pluck gently: lift the hairline in rows to thin it out. Don’t overdo it in certain places.
- Cut the lace in micro-zigzags, never straight lines
- Prepare your scalp: clean it well with alcohol, protect your skin and keep the glue away from your natural edges.
- Wait for Clear Glue: Allow adhesives to turn completely clear and tacky before pressing down the lace.
By avoiding these 5 common installation pitfalls, you will preserve the structural health of your wig, protect your natural hairline, and enjoy an undetectable, melted finish every single time.