Grout is a small detail in your bathroom, but it makes a big difference in both looks and functionality. Over time, grout can crack, discolor, or crumble due to constant moisture, harsh cleaners, and daily use. Damaged grout not only spoils the appearance of your tiles but also allows water to seep behind them, leading to mold, mildew, and even tile damage.
The good news is that learning how to repair bathroom tile grout is simpler than most homeowners think. With the right tools and techniques, you can refresh your bathroom and protect your tiles from further damage. In this guide, we’ll cover step-by-step repair methods, useful tips, and why hiring professionals like Grout Kings UAE, a company specializing in grouting services, can save you time and ensure long-lasting results.https://xuzpost.com/
Why Does Bathroom Grout Get Damaged?
Bathroom grout is constantly exposed to humidity, water, and cleaning products. Over time, these factors cause:
-
Cracking and Gaps – caused by tile movement, settling floors, or poor installation.
-
Discoloration – from mold, mildew, soap scum, and hard water stains.
-
Crumbling Grout – due to improper mixing, drying, or simple aging.
-
Loose Tiles – when water seeps under cracked grout and weakens the adhesive.
Identifying these issues early allows you to repair the grout before the damage spreads and becomes more expensive to fix.
Step-by-Step Guide: How to Repair Bathroom Tile Grout
1. Gather the Right Tools
Before you begin, make sure you have:
-
Grout saw or oscillating tool
-
Replacement grout (match your tile color)
-
Grout float
-
Sponge and clean water
-
Grout sealer
-
Safety goggles and gloves
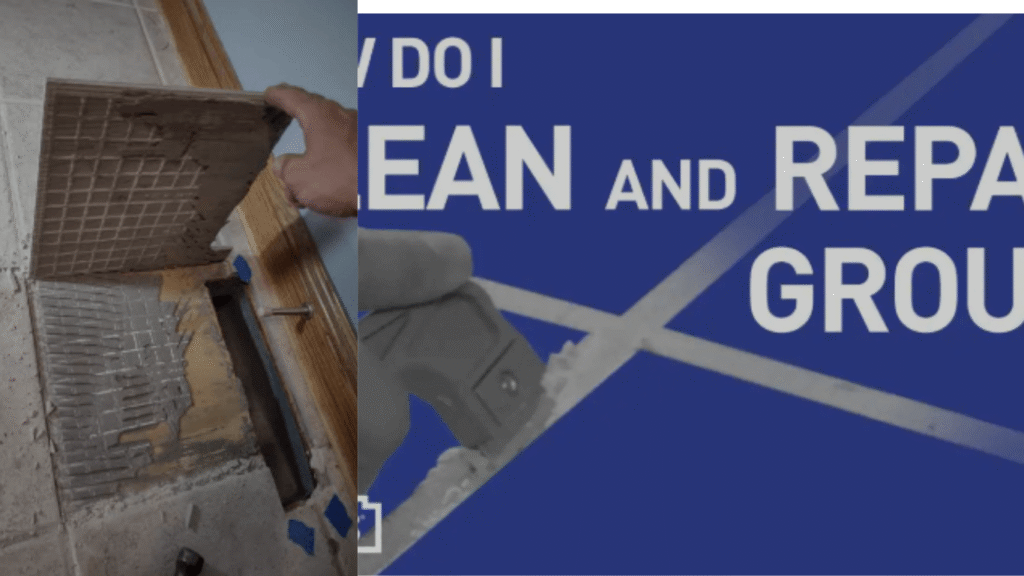
2. Remove the Old or Damaged Grout
Carefully scrape out the cracked or broken grout with a grout saw or oscillating tool. Work slowly to avoid scratching your tiles. Once removed, clean the joints thoroughly to prepare for new grout.
3. Mix the New Grout
Follow the manufacturer’s instructions to mix the grout. For bathroom areas, epoxy grout is highly recommended since it’s water-resistant, durable, and stain-proof compared to cement-based grout.
4. Apply the Fresh Grout
Spread the grout using a grout float at a 45-degree angle, pressing firmly to fill all the joints. Make sure every gap is packed to prevent future cracks.
5. Wipe Away Excess Grout
Use a damp sponge to clean excess grout from the tile surface before it hardens. Rinse the sponge often and avoid removing too much from the joints.
6. Allow It to Cure
Let the grout cure as instructed (usually 24–48 hours). Keep the area dry during this time to ensure strength and durability.
7. Seal the Grout
Once dry, apply a high-quality grout sealer. This step is crucial for bathrooms since it protects against moisture, mold, and staining.
DIY vs. Professional Grout Repair
While repairing grout yourself can be cost-effective, it does require patience, skill, and the right tools. If grout is not applied correctly, cracks and water leaks may return quickly.
That’s why many homeowners choose professionals like Grout Kings UAE. They are a trusted grouting company in the UAE, offering expert bathroom grout repair, regrouting, and sealing services. Their team ensures a flawless finish, long-lasting durability, and protection against water damage—saving you from costly future repairs.https://groutking.ae/
Tips for Long-Lasting Grout in Bathrooms
-
Clean grout regularly with mild cleaners instead of harsh chemicals.
-
Reseal grout every 1–2 years for added water resistance.
-
Fix small cracks immediately to prevent bigger issues.
-
Keep your bathroom well-ventilated to reduce mold growth.
Final Thoughts
Knowing how to repair bathroom tile grout not only improves your bathroom’s appearance but also protects your tiles from serious damage. Whether you take the DIY route or hire professionals like Grout Kings UAE, proper grout care ensures a cleaner, fresher, and longer-lasting bathroom.
If you’re in the UAE and want hassle-free, professional grout repair, Grout Kings is your go-to solution for expert grouting services.