


Madhya Pradesh has made significant investments in digitising its...

Planning a long-distance trip from Mumbai to Solapur? Whether...

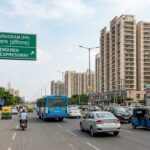
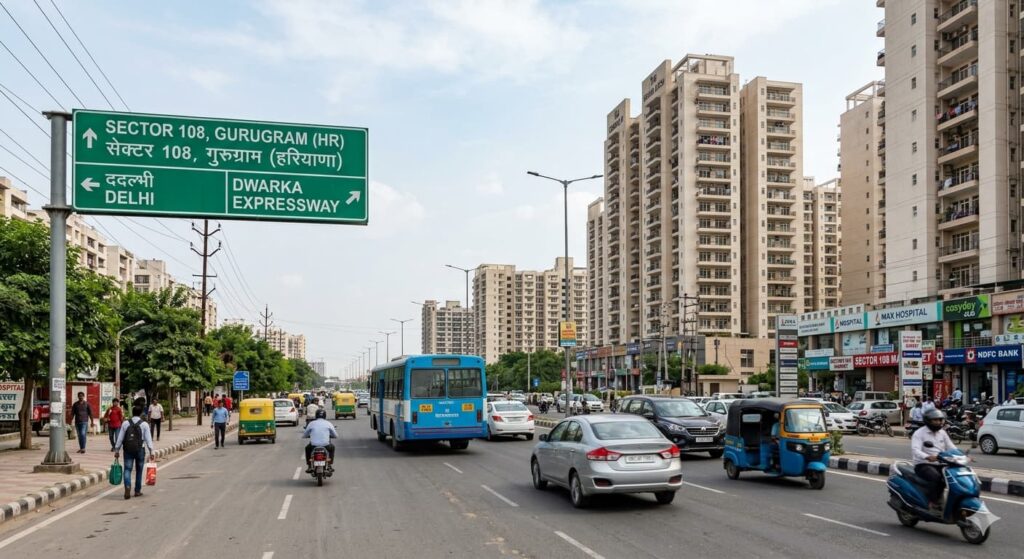
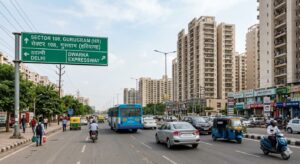
Sector 108 Gurgaon is now considered to be among...